Tuesday, March 25, 2014

Passing Days, and No Spring

 Where is Spring?

I've typed about 7 sentences to elaborate on my feelings towards Spring's lateness and the crushing desperation we all feel right now... But why type about such hopelessness.  I mean it's not like we are all going to go crazy and start splashing gasoline across the yard only to light it on fire to melt the snow... hmmmm, I mean crazy right.

Anyhow with that rant out of the way here is what I've been working on.  I finished the Tattoo quilt I was working on for a customer.  If you didn't see the post here is a link to the process I used to make it, Tattoo.  I really like how it turned out, simple and straight to the point.  I quilted it with Leah Day's dubbed sharp stippling.

Testing.  I picked the one on the left. 
Sharp stippling and I really didn't get along before this.  I had given it a try and just couldn't get the points right or figure out how I was to 'steer' around the quilt.  But I decided to give it another go and tada I got it!  I really like sharp stippling because it gives the same cuddly soft quality that stippling does but a more masculine look.

I delivered the quilt to my customer while at work at the pub the other evening and had to remind him a million times that it's a quilt not a blanket, hahaha.
This photo isn't depicting the colour of the quilt properly, but you get the idea. 


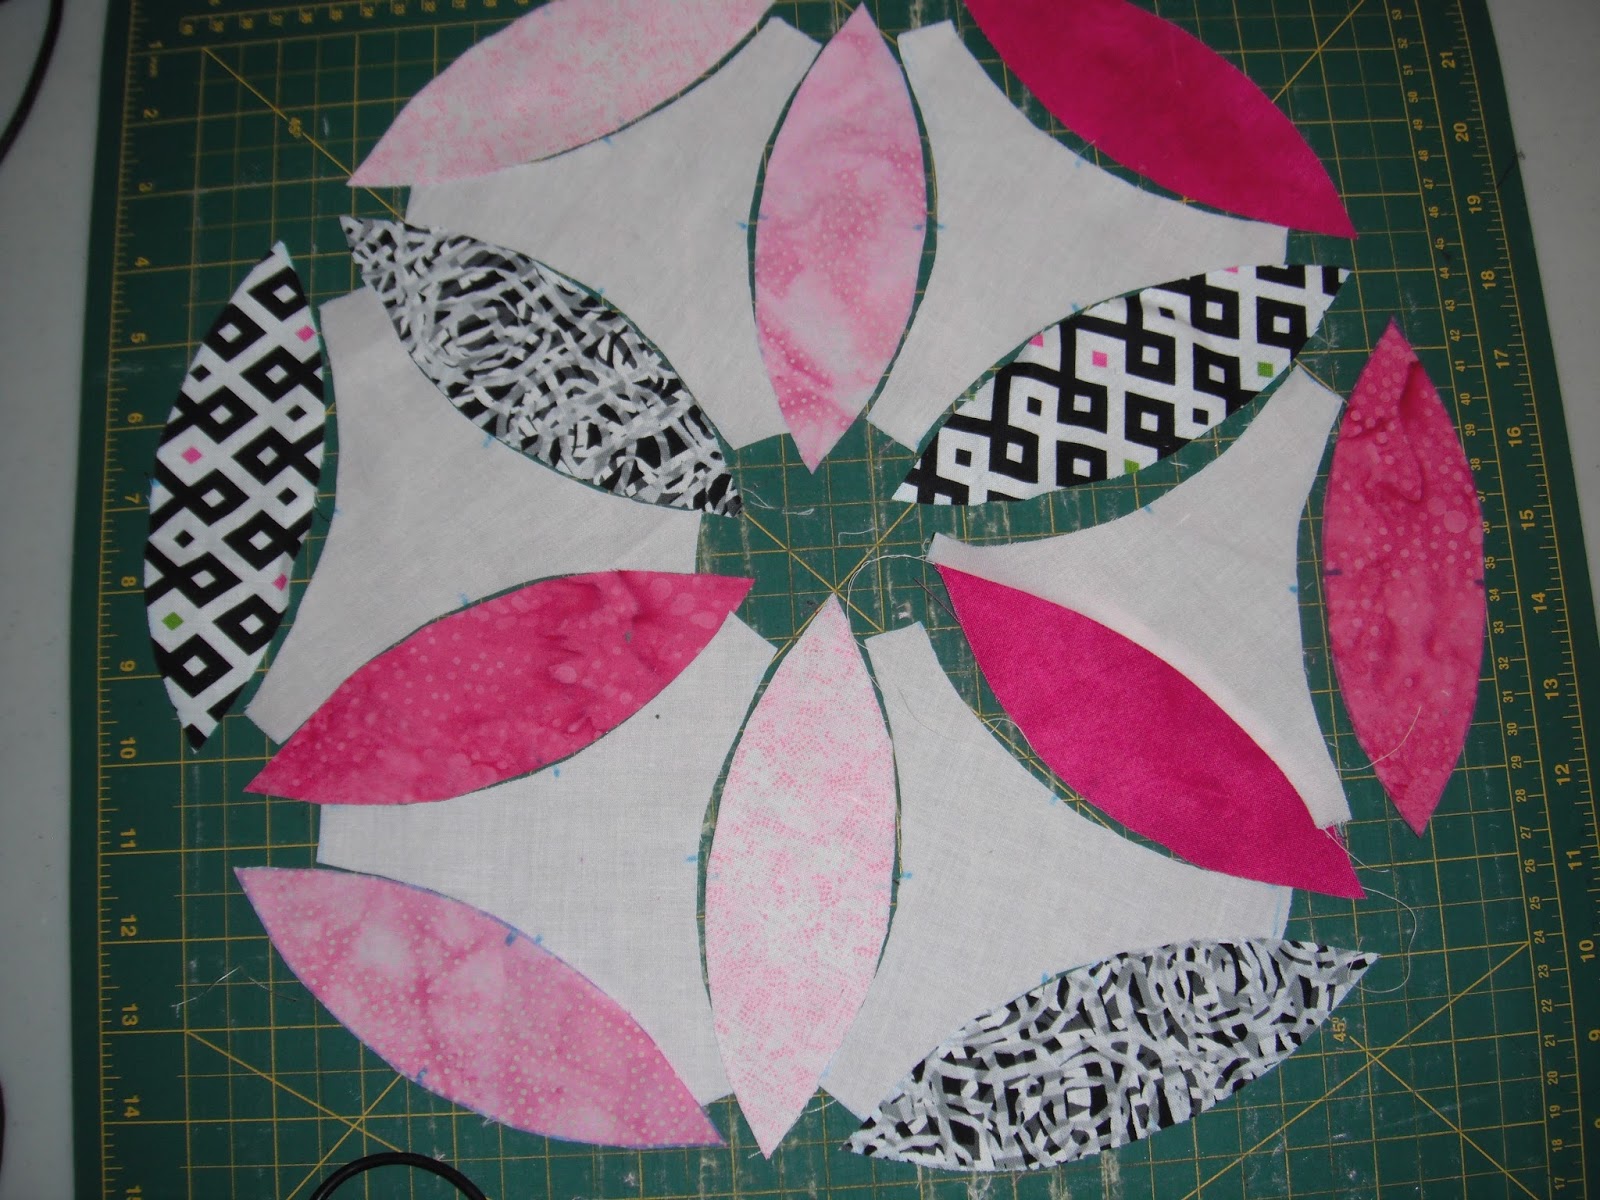
 I have also been working on more baby quilts.  Most recently I completed this puzzle quilt.  I think the fabrics I used are too busy but whatever lesson learned.  It was fun to make and super easy, I found the tutorial here.  I used two fat quarter packs from Wal-Mart and a 5 inch border, worked out to a perfect crib size quilt (but I can't remember the exact dimensions).
The label.


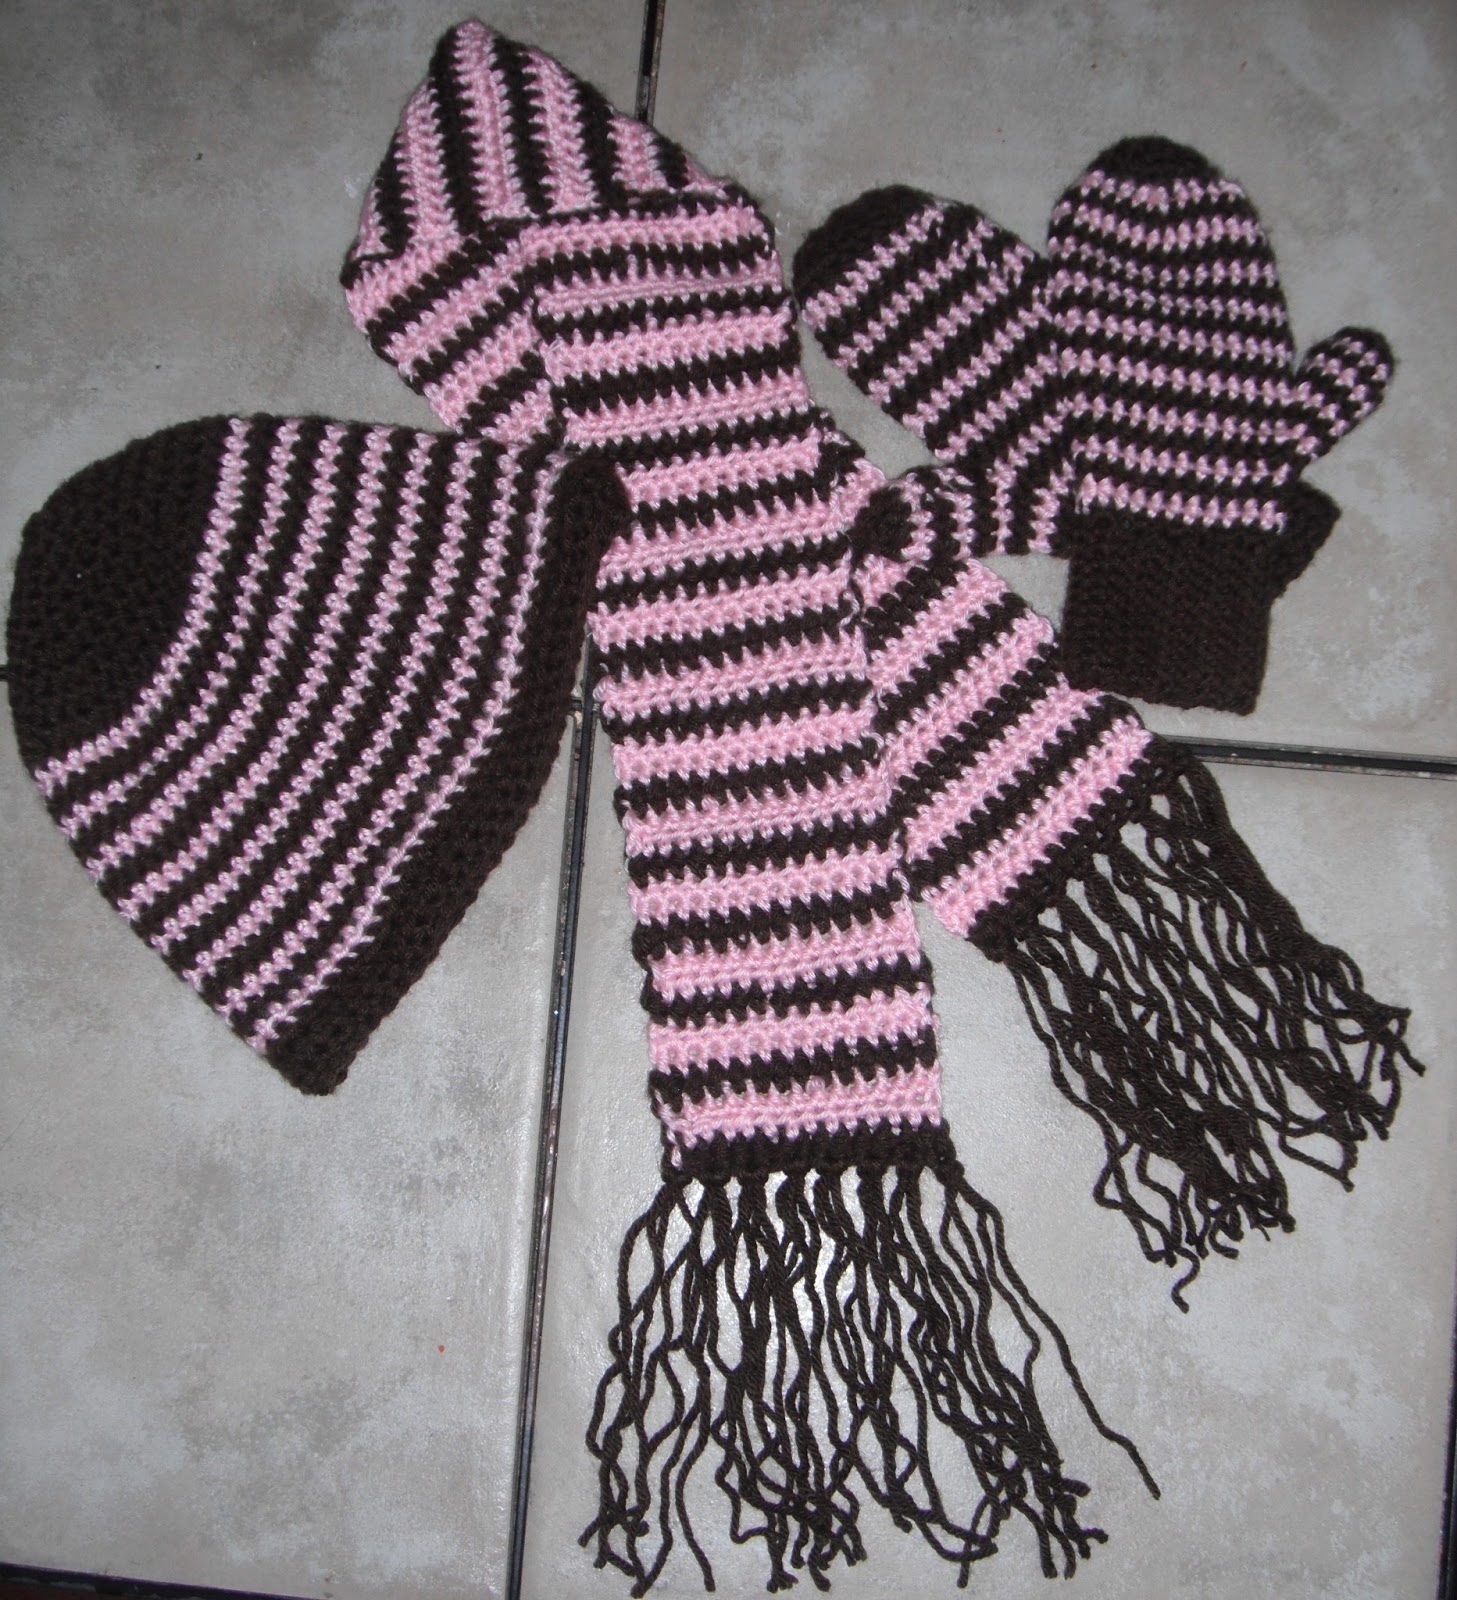
I have been doing a lot of crochet, mostly so I don't look out the window and see more depressing winter.  I made these cute sweaters for my girls.  They picked their own colours.  The pattern is called Crochet Girlie Hoodie by Red Heart.  I did have to change quite a bit on the sizing.  The largest size wouldn't fit my 7 year old in body length or arm length, which in all reality wasn't a difficult adjustment. 


I'm linking up with the lovely Canadian fiber crafters who are inspirational beyond belief over at the Needle and Thread Network.

Wednesday, February 5, 2014

The Rush

You know the rush?  Sure you do, you know that all consuming, must get it done, go, go, go, moment.  Well I had one of those this past week.  Those rush moments don't always happen but when they do I usually just grab on with two hands and try and sneak some food and coffee in when I can.

I finally finished this behemoth of a zig zag quilt.  I did a modern style quilting, as you can see here,  marked lines with a line of pebbles, uppy downy lines, and swirls in the blue.  Ugh, what a bloody headache the quilting was.
 So anyhow it was hair straight back to hand sew the binding (I just can't do machine stitched binding, I like the look of hand stitched too much).  Then it was time to remove the markings.  Well I have never immersed a quilt in the tub before, it's pretty darn nerve wracking.

"I wonder if I have the water temperature right, oh crap maybe I should double check!  Too late anyway... Oh it is right, whew.  OH MY GOD did I rinse the tub enough! What if some bit of cleaning chemicals gets into the quilt.... Oh right I use the green stuff... will that ruin the quilt?  No it's fine.  Soooo should I rub the lines?  Massage the quilt?  Dunk it under more?  How long should I leave it... "

Well you get the idea.  I ended up just leaving it in the tub for a while (32 minutes to be exact, in really cold water, maybe a little too cold, hmmm...)  I spun it in the wash a couple of times and popped it into the drier.
 I really like the quilt.  It's exactly what it was supposed to be.  I discovered that I'm not much of a 'modern' quilter.  I love the look of the modern quilts sure, but making them is way trickier than I thought.  Those white lines, I had to go over them 7 times!  The quilt is very large, and it was a super pain in the butt to get the thing into my little machine...  I have been eyeballing one of those Handi Quilter machines.

The rush wasn't over yet, I had to also quilt and bind this cute little number.  I picked this jelly roll up at Wal-Mart of all places.  It was on the super sale rack for a couple bucks.  I thought it was just ugly as sin, until I started sewing with it.  Now I think it's the cutest!
 One of my best friends just found out she will be having a baby girl so this is for her.  I suppose you could say this is another 'modern' quilt because of the white, but I did an all over stipple so the quilt can be snuggly.  I was inspired by this video from the Missouri Star Quilt Company.   I'm linking up with the awesome ladies over at the Needle and Thread Network.  Have a gooder.

Thursday, January 23, 2014

Not A Bad Joke


Steven's Tattoo
 A guy walks into a bar... and asks if I could make him a quilt.

I work Fridays and Saturdays at the local tavern.  One of the patrons (Steven) asked me if I could make him a quilt using his tattoo as inspiration.  Well of course I can.  So we took a photo of his tattoo and and left me to it.

The design isn't a difficult one.  But I thought I would show a little of my design process on how this quilt is becoming reality.

Using a design program (Serif) I loaded the photo up and began building around the tattoo.  The lines on the tattoo are a little blurred so I had to improvise but I was happy with the overall look of the design.
The Design
The next step for me is to print out the design and trace it onto a transparent for my projector.  The quilt was originally designed to be about 60"x60".  Once it was sized properly I drew the design out full size onto freezer paper. 
Full size pattern on freezer paper
While discussing the design with Steven we decided that the quilt would have a very basic colour scheme of red on black.  So this is the usual point where I go buy my materials.  I found a great (masculine) red at the local quilt shop.  For this project I also purchased a large black flat sheet (since I don't want any seams in the background), red thread for the applique, fusible for holding the pieces in place, and batting.  I don't buy my backing until the top is finished since sometimes quilts change size (hahaha).

For the applique I ironed the cut out pattern pieces onto the back side of the red fabric, and cut out each piece (22) leaving approximately 0.25"-0.5" along each side to turn the edges.  I was originally going to do a raw edge applique (my favorite type of applique) but because the red contrasts so much with the black background any fraying would be far to visible.

Pattern pieces
Turned edges
Turning the edges of this pattern were a challenge since there are so many sharp points and tight inside corners.  But not to be deterred I whipped out my trusty spray starch and handy paint brush and got er' done.  Just for good measure I put a dab of Fray Check on each corner and point. 
Each piece was marked on completion.  Done! Well not quite.  The most challenging aspect of the is design is the symmetry.  I need those pieces to stay exactly where they need to be.  So for some staying power I cut up bits and pieces of fusible and ironed them onto the back of each piece. 

Fusible, marked on the paper side to avoid sticky mishaps... sigh. 

 Next step for me was to prepare the background (iron, starch, mark).  I ended up measuring the quilt for 70"x70" (told you quilts change size), because I think it looks better having more negative space around the applique.  I have the two central pieces placed perfectly (with pins for now), but the outside points are just layed out for show, as it will take me a while to place them perfectly.


 Well that's about how far along I have come with this quilt for now, but I'm planning on working on it for the next couple of weeks.  I think I'm going to quilt the background in black thread, but I'm not sure on what kind of design to do just yet.  I don't want to spend too many hours on super tight quilting since it's meant to hang on a couch, and personally I love snuggly things.

So that was my inspiration to quilt on this project.  I have definitely noticed that I love to create for other people this is my 6th commissioned quilt.  I love it when someone comes to me with an idea, I just find it super exciting and inspirational, thanks Steve.

Tuesday, January 14, 2014

Quilting Fun or Not so Fun


We all have that one quilt that we just want to throw into a fire pit and dance around naked until it all burns to ash!!!!  Well instead (mostly because it's too cold to go outside naked) I decided to finish the darn thing.  So here it is (left).  If you've been here on my blog before you may have come across a rant or two about this dang quilt.  So instead I'll just list a couple of great reasons to hate this quilt.
  • It was inspired by the awesome improv quilting movement (which is time consuming, difficult, and makes no sense even to a person who would dance naked in her yard). 
  • I couldn't use the thread I wanted because it kept shredding in my machine... so for some reason that is a reason to hate this quilt.
  • The bright green thread didn't give me the effect I was hoping for.  
  • Stupid improv....


I have been working on a lot of other various projects but instead of my incomplete stuff (and I truly just don't feel like typing about me right now), I thought I would just share a couple of photos of some of the things being worked on at our quilting day out in Laporte, Saskatchewan. 


That is all for me today, head over to the Needle and Thread Network to check out some really great Canadian talent.

Wednesday, December 18, 2013

Adventures

My last post on this blog was almost three months ago!  As everyone can appreciate life kind of got away with me.  My husband and my mother contrived to send me off to Peru to partake in a two week whirlwind of adventure and absolute awesomeness.  
Alpaca
Machu Picchu Ruins
So without an entire paragraph of bragging, it was two of the best weeks of my life.

Also I have been working tirelessly trying to complete a massive attic renovation.  
Before
This was the attic before the renovation when we first bought our house.  This attic spoke to my husband and I, we just knew we could turn it into something special for the kids.  We have been working on it for the past 6 months.  If you ever feel like reading about the never ending, built from nothing, drywall madness, renovation of my life feel free to head over to my other blog Renovation 800
After
Now back to business!  It is so hard being separated from my sewing studio.  I have been having some pretty serious withdrawals.  But that is over now and I'm back to the pure joy and creativity of coming up with bad names to call my machine or whatever project I'm working on.  

I ADORE the modern zig zag quilts I see plastered all around the net, they have just been calling my name lately, so I decided to give it a go.  


 I cut 10 inch squares of three different blues.  Then cut a matching number of 10 inch squares of white fabric.  Match a blue to a white and sewed along all four edges.
Mmmmm, beer and clam in the background.  *caution alcohol and accurate cutting do not always go hand in hand. 

 Next step was to take my ruler and cut corner to corner.  I'm not a huge stickler for super accurate piecing but I knew that it was going to be pretty obvious if I messed up with the points in the zig zag quilt, but still I decided not to square these blocks (smack self in head, probably was the beers fault).


It actually turned out pretty dang good.
 As you can see I added some bright yellow blocks to make the quilt more artistic and give it some pop (I actually ran out of blue blocks to make it the size I wanted).

One of the reasons I wanted to make this quilt was because I really wanted to try my hand at some 'modern quilting'.  So taking cues from some of the biggest and brightest names in modern quilting I have been doing nothing but quilting in my spare moments trying to get 'that' look.  I think its coming along nicely.


This is a project that is in the works on the projector right now...


This holiday season I made a whole bunch of these fun character touques.  But I forgot to take photos of them all.  So here are a couple I remembered.

Whew, boy I sure hope I keep up with this blog this winter.  That was a lot to get out.  I apologize for the quick and dirty post but I just had to get all that out.  I'm linking up with the wonderful Needle and Thread Network, a great place to check out some seriously talented fiber artists from Canada.  Please stay safe this holiday season and don't drink and drive. 

Thursday, September 19, 2013

Summer Is Gone?

Woe, woe, woe.... Where did summer go!?!  Seriously I'm pretty sure I missed that memo.  But since it's gone I suppose it's time to get back into the groove.  I wasn't expecting summer to take over my quilting life (because we all become an amazing artist/crazy person when we are in our studios, and it feels like an alter ego to me sometimes).  But it did.  Most of my time has been spent on the ridiculously overwhelming renovations we have been doing in our house (Renovation 800 Blog).  Yet as per any committed (hardcore) quilter I have carved my self out some time this summer and here is what I did (that lead up may prove to be a little anit-climatic):

 I've been working on drafting a Joesph's Coat pattern.  I searched and searched the web for a tutorial on this pattern but I only found one.  It's an old pattern but darn I've had quite a bit of trouble with this quilt.

I decided the best way to go about it was to make my own templates and do some practice blocks... Well, that was a good idea.
The bits and pieces

The abomination

 Well as you can imagine it was quite a disappointment.  I found a great forum where I was able to get some advice on the the assembly, but to be honest I've taken a step back for a bit.

My new toy is a projector my husband found in the basement at work.  He traded a guy a case of beer for it.

Here is a photo of my girls and a part of an upcoming project... cool eh!  Last but certainly not least I finally made myself one of those thread catcher deallys. 

Well a fairly uneventful summer in my studio.  But perhaps if I ever finish the drywall in the house I'm bound to get sewing again.  I'm going to link up with the lovely people over at the Needle and Thread Network.  I have been quietly reading all the posts over the summer, I absolutely love the work these people do.

Wednesday, June 26, 2013

Twisted Circles


Original Plan for Twisted Circles
Well it's been weeks since my last post and busy as I have been I have still been quilting.  Summer is such a busy busy time for life. Today is the last day of school (yeah no more early morning lunch making! [bet that comment will come back to bite me]).  Looming in the all to present future is the beginning of massive home renovations.  I could go into it \but I'd really rather pretend it isn't happening for the next 20 odd minutes it takes me to type this out).  

In the rather large part of my mind that is devoted to quilting thoughts (24/7) I have been trying to define my quilting style... I used to think I liked small quilts but I realize now I don't, I just couldn't get one to be the right size at the time.  I don't really like dense quilting because I like quilts to be snugly.  At the same time I'm not a huge fan of traditional quilts (although I do have serious respect for that piecing!).  I'm not a fan of the super artistic quilts either... I just find it all a bit messy.  I know we shouldn't try and define ourselves or back ourselves into a stereotypical art corner, but... I was bored of dishes.  I think this quilt defines my 'style' pretty well.  It's complicated, clean, big, modern (negative space), and complementary bright (to my eye :).  I don't know what that's called but it's a big enough corner for me.

The quilt pictured is a commissioned quilt my cousin asked me to make for his girlfriend.  He told me to make it pink and awesome.  I changed my mind a million times but finally decided to complicate my original plan by adding the curved going up and down.  Also I couldn't do the whole quilt in pink, it needed some umph, so I fell back on good ol' lime green.   

I decided to keep the quilting simple and do echoing circles around the circles. I'll post photos of the completed project when I find some time to finish the binding.  It was hard keeping the circles circular and evenly spaced, but I'm happy with how it turned out. 

I moved!  Well I moved some of my stuff into the studio!!! If you haven't been following along with my battle through renovations (or from the ground up to be more accurate) than you can check it out at the renovation blog Renovation 800, but to sum it up... it was hard but here we are. 

It's messy and incomplete but we MUST move on to other things. 

On a side note I have been crocheting a bit too and seeing some progress in my skills (mostly pattern reading hahaha).  This little unicorn has a video tutorial by the mind behind Yarn Yard.  You can find the video HERE.  There is also a link to the written pattern Here.

I'll be gone again for a while so expect no new posts from me.  I'm going home to BC for a couple weeks to visit the family.  


I'm linking up the the needle and thread network where all the cool kids hang out.