Wednesday, May 23, 2012

The Big One

the big one
So all along my quilting journey my mother and father have been extremely enthusiastic.  They bought me my first machine and have been supplying me with a regular stream of doodads (Yay for Christmas Accuquilt Go Baby).  So it only makes sense in the deep of winter I brought up the idea that I was ready to tackle a large quilt (all my quilts are no larger than lap size), and perhaps my parents should be the recipients of such quilt.  Well the brainstorming was on... Unfortunately my parents are afflicted with the most common form of marital distress, they clash.  Basically to no one's surprise we went with mom's idea.  The idea is to have a lake setting with hills in the background and a spectacular sunset, then a Heron standing in the shallows surrounded by water grasses, and some dragonflys to make dad happy.  Sounds great eh?  Sure on paper!!! What the heck was I thinking!  I can cut out some cool shapes (go Accuquilt, thanks dad), but a Heron?  Everyone has seen the amazing bird quilts out there (google 'heron quilt') but is it actually possible to construct one?  It seemed like a good idea at the time.  Well with a four hour drive home it started to really sink in what I was promising, heck mom even took me to the fabric store in Prince George and invested in some fabric... I told her at the time that it may take a year or so, but it's now been almost 6 months so you can probably feel my panic through the computer screen.  Well as the weeks past I started to talk my family and friends crazy with ideas on how I could possibly make this work.  A lot of research, a lot of 'have you tried this', and some seriously good advice I constructed my first mini prototype.  Boy did I make a lot of mistakes, but it showed me that this is not a pipe dream I can make this work.  With that in mind I set to work on a second prototype.  Here are the basic steps I took to make my little practice quilt (which at this moment is not entirely finished.

template, note to self; use more dash mark things
Step One: Sketch and transfer to freezer paper. 


One really important thing I learned was to have a reference sketch especially when I started having more than ten pieces, it's hard to remember where all those little bits go.  I will also make a point to have more of those little dashes to help place the pieces more accurately.  Also I will mark the top of the piece with little arrows or something along those lines, so I know which way is up and what edge to fold over for the seam.


before I ironed the TOP edges under
Step Two:  Cut out freezer paper bits, iron onto the right side of the fabric.  Cut out with a generous 1/4 inch seam allowance.  Iron under seam allowance.

The seam allowance allows you to fold the raw edge under the freezer paper, I learned that it is only necessary to fold the top edge of the fabric under.  When your placing your pieces together later layer from the top down.

I used a large iron to iron my first prototype, and it worked just fine for the moment, but I did 'invest' in one of those little ones, I think it was a good purchase.  I obviously plan on doing one more quilt like this so why not buy more stuff to move to Saskatchewan in 6 weeks?   But honestly I really like the little iron, and it really made a difference in the amount of swearing I was doing.

The other and possibly most important tool here was starch.  I bought the aerosol spray stuff (I bought it at a regular drug store), sprayed it into a small dish and applied it to the edge with a kids old paint brush.

Also remember to snip the edges of the concave curves to achieve that flawless edge.

all the bits are lined up and ready to iron down

Step Three: Arrange bits into their correct spots lining up the little dash marks.  Iron them paper up onto a piece of one sided stabilizer.

Once I had all the individual pieces prepped I lined them up face up on a piece of stabilizer stuff.  I used the stuff that people put in shirt collars, it's important that you use something that is not going to make a quilt too stiff and has only one side of adhesive.  Once lined up I ironed the whole thing and am ready to pull off the paper.  I need to take more time and line up those ever important dash lines.

Step Four: Remove Paper!
water
land
sky

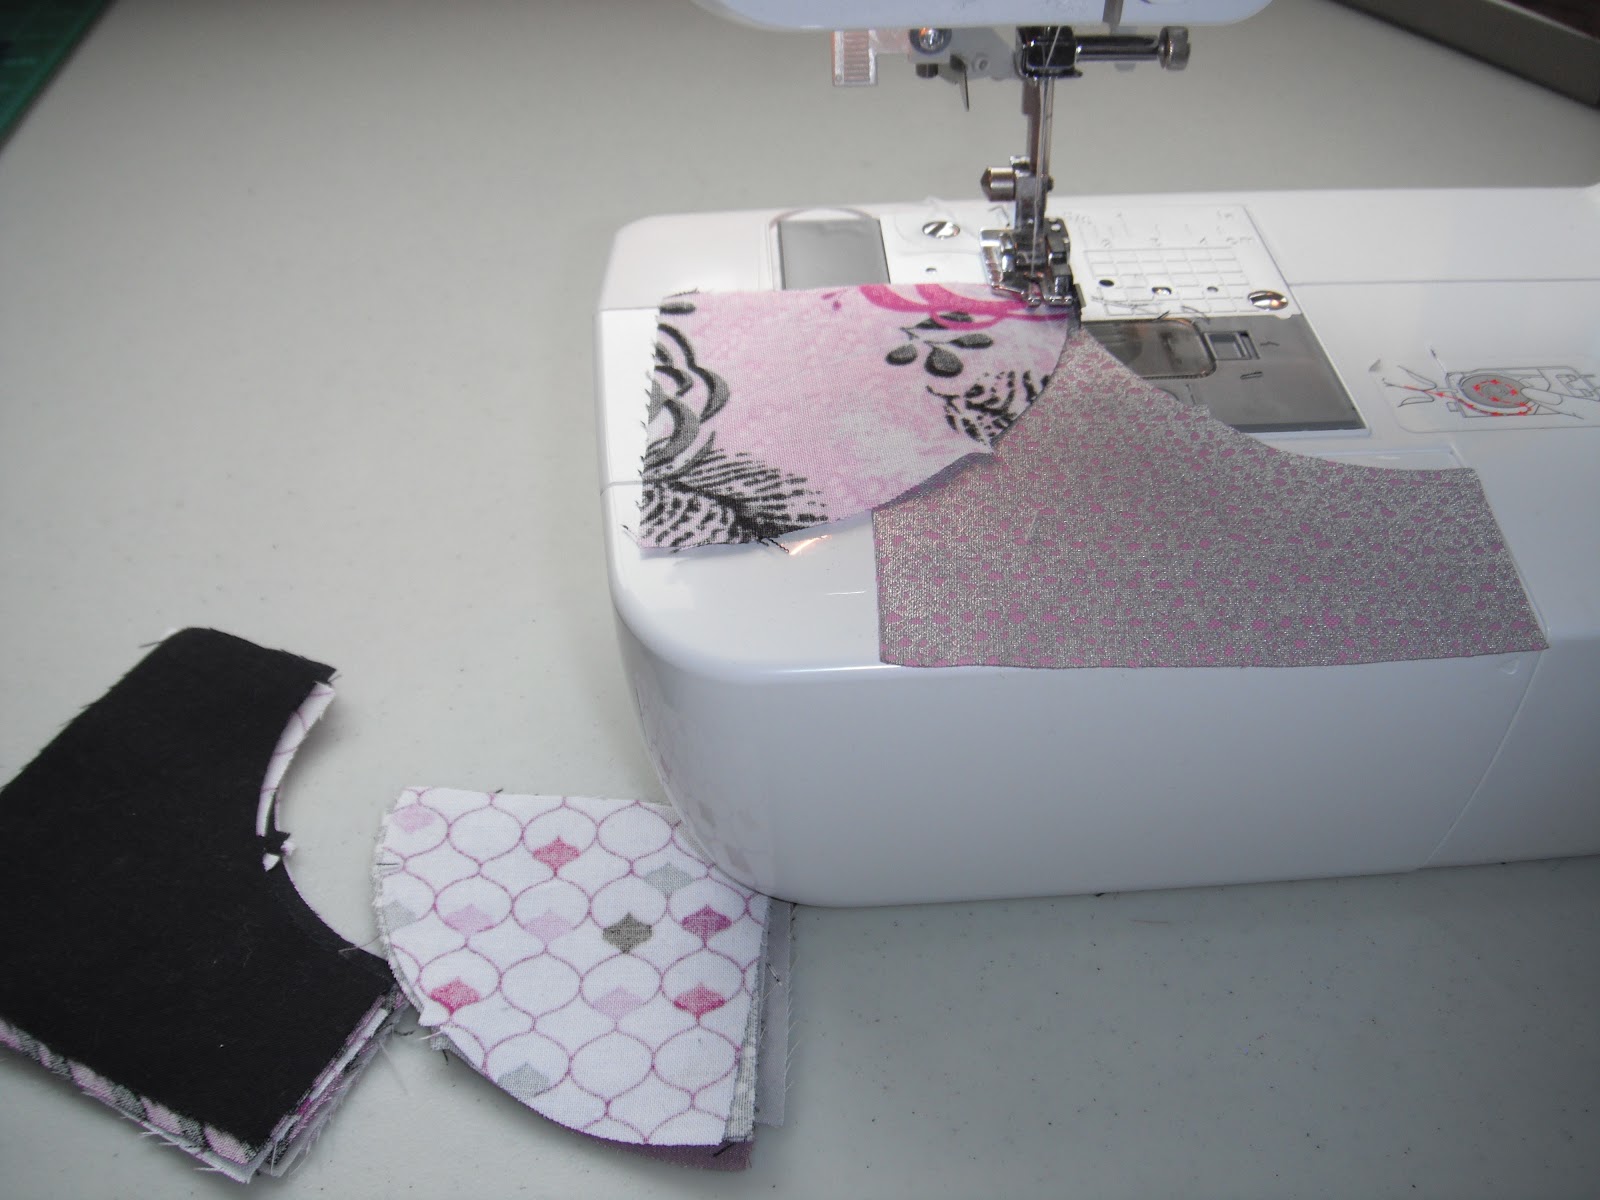
Step Five: Using invisible thread stitch down all the seams.

Much easier said than done eh! I was a little horrified how many seams there were and how much you would see my back stitch if I had to stop half way across the quilt (why do I never think of these things before I run along and do it)?  Anyhow here is a little photo of what the back looked like after stitching it all down.


Step Six: Baste quilt and quilt it!

The top looks just fine and a lot better after I started quilting it.  Here is a photo of how far I have gotten with the quilting so far, I'm not sure if I will ever finish this little quilt I just wanted to test an idea and try some thread painting (the grass at the edge of the water).   I feel I have learned what I wanted and now I can move on.  I'm sorry for the lack of really informative photos, I never did plan to post this but I was just so happy to figure out a great way to tackle this ginormous project I had to share.  But I have decided that after I move to Saskatchewan in June I will tackle 'The Big One' and I will take tones of photos and share a more in depth 'how it's made' with everyone.  Whew I feel as though I'm turning up the heat and I'm only semi prepared for it but I suppose you never succeed until you try.  I suppose one could say it's never finished until it's done too... hmmm maybe I should finish this...


Friday, May 11, 2012

Hoot a Day

Hoot a Day
Well as the week has past panic is setting in as the reality of moving my family two provinces over (British Columbia to Saskatchewan) becomes a reality.  I'm extrememy concerned about my becoming frustrated by the lack of comfortable scenery.  I plan to keep an open mind because I'm sure the flatland holds the same amount of charm as glorious, huge, enchanting mountains do...  Oh crap I'm so in trouble.

Anyhow there has been a frantic rush to finish all my projects that are going to people here in British Columbia.  One of my  friends here in town had the audacity to have twins and double my work (perhaps I should just be thankful it wasn't me hahaha).  I also took on a commissioned baby quilt for a lady, it was a very simple project, yet it was very hard trying to figure out what my time was worth and how much does someone pay for a baby quilt? So here is a breakdown of what I did:

  • Sewed boarder onto panel. 
  • Attached label to front via decorative stitch.
  • Basted quilt (had to buy different batting $12).
  • Quilted  quilt (32' x 45' approx) with simple design (4-5 hours), had to buy thread ($3).
  • Made and attached binding, hand sewing it down (3-4 hours).


                                                                           All in all it really wasn't a big deal and it was good practice, and I would have done it for free if I had known her.  Talking to some people (my mom of course) I came to the conclusion that if I short change myself now with my quilting I always will.  So the price I completed this project for was.... $75.00.  It was tough to ask for that much money but I felt confident in my workmanship.  The exchange went off without a hitch and I'm pretty happy about the whole affair.


Saturday, May 5, 2012

Pretty in Purple


I've had a full couple of weeks, mostly just a wrenching decision to move my little hooligan family to Saskatchewan?!? Yeah, it's still to be determined. But anyhow with a long, long, long drive to Saskatchewan looming, my sweet husband recommended that I make a quilt for his cousin who would be watching the kids in Edmonton for the 4 days. Well of course to any normal person this seemed like a great idea... until I became over confident, over ambitious, and completely out to lunch, since the deadline was a mere 5 days away. So like a crazy person I dropped all other activities and family affairs (dishes, dinner, laundry etc...), and set to a long quilt-a-thon. The only thing that saved this doomed project was my Baby Accuquilt cutter. Honestly I just received the drunkards path template in the mail the day before and figured I could whip one of those together in no time Haha...ha. Honestly, the reason why I put this photo of my machine with the pieces on it is to give you an idea of the itty-bitty pieces they really are. I swear, by the time I had all those little blocks sewn together I was walking in a curved line. It was finally time to put the pieces up on the wall and figure out what type of placement I wanted them to be in... This one did not pass.


I ultimately went for the scatterbrained placement, since that was the way I was feeling. So basically the construction of the quilt went; Bits to pieces, pieces to clumps, clumps to strips, and finally strips to an embarrassingly tiny quilt top. Honestly my greatest downfall is size estimation... or A.D.D., I'm a little torn on the issue. Anyhow all negativity aside (and some purple and black borders) you get what you get in a two day period. Funny that feeling of accomplishment that we feel when we finish a quilt top, we all know deep down inside that your only half way done, but conveniently we feel that a major sense of accomplishment... All self-deprecating aside (it's a stormy day outside and it seems to be affecting my mood, my apologies), I hopped right to it and continued the manic race to quilting triumph. Day 4 saw the real crazy in me come out, you could view it as an exercise in poor parenting, or a lesson in independence. I quilted this little 70's porn quilt in a design similar to Leah Day's H2O design ( http://freemotionquilting.blogspot.ca/2010/05/day-181-h2o.html). Well I didn't actually watch her video I just jumped in and figured it looked simple so I should just breeze through this and call 'er good... how typical. I can not stress enough the advice to just slow your ass down and plan, plan, plan. I mean, obviously it worked out, but it didn't need to be that hard.  So anyhow I survived the race to the end and spent 17 hours in the car sewing the binding.  Anyhow I plan to post again soon and sorry for the delay(go life go).  But before I sign out I have received the Liebster Award from Tessa at TheSewingChick.blogspot.com and Mike at amateurquilter.blogspot.com.  Thank you both so much and everyone else out there for their kind and supportive words of encouragement.   

"Liebster" means "dearest" or "favorite" in German.  As a recipient you are expected to:  
  • Thank the person that nominated you and link back to them 
  • Present the award to five other blogs under 200 followers
  • Let them know by commenting on their blog
  • Post the award on your blog

I nominate the following for the award.

Mary @
http://www.maryslatenightstitchn.blogspot.ca/
Ashileigh and Julie @
http://heritage-keepsakes.blogspot.ca/
Candice @
http://quiltdesignsbycandace.blogspot.ca/
Linda @
http://bumbleknit.blogspot.ca/2012/05/whats-happening-wednesday.html
Unknown Name @
http://round22.blogspot.ca/2012/04/just-final-post-of-april-with-quilt-i.html

On a final personal note, I didn't win anything at the quilt show :( but wow for the quilts that did they were so amazing they had to be recognized.  Here is the finished photo of this 70's porn quilt.